

Are you tired of your TV’s picture never looking quite right? It’s probably the settings! Even if you’ve got the latest high-definition technology, without the proper adjustments for brightness, contrast, and color, your screen might still end up looking a little dull.
But don’t worry! You don’t need to be a tech wizard to fix it (though we’re always here to help at Zeglin's Home TV & Appliance). We’ll guide you through the steps so you can get the most out of every show and movie—just the way they were meant to be seen!
1. Setting Up Your Environment
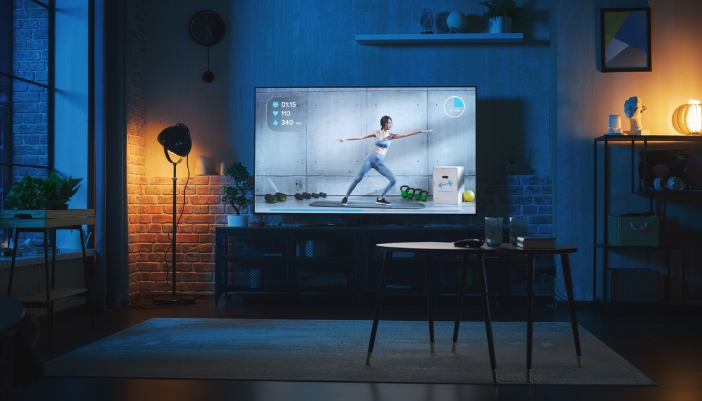
Before diving into the settings on your TV, let’s talk about your viewing environment. You might not realize it, but where and how you watch TV can seriously impact picture quality, so setting the stage for the best viewing experience is vital.
- Lighting Conditions: Position your lights so they don’t directly reflect on the screen, like having lamps behind or to the side of your TV. Avoid harsh overhead lights or direct sunlight, which can wash out the picture.
- Viewing Distance: For HD TVs, sitting about 1.5 to 2.5 times the diagonal screen size away from the TV is recommended. However, with 4K TVs, you can sit closer — about 1 to 1.5 times the screen size — because of the higher resolution, which maintains picture quality even at a shorter distance.
- TV Positioning: Ensure your TV is at eye level when seated to reduce strain and to view the picture without distortion, giving you the best perspective on the adjustments you’re about to make. Wall-mounting at the right height can also enhance your viewing experience.
2. Starting with the Basics
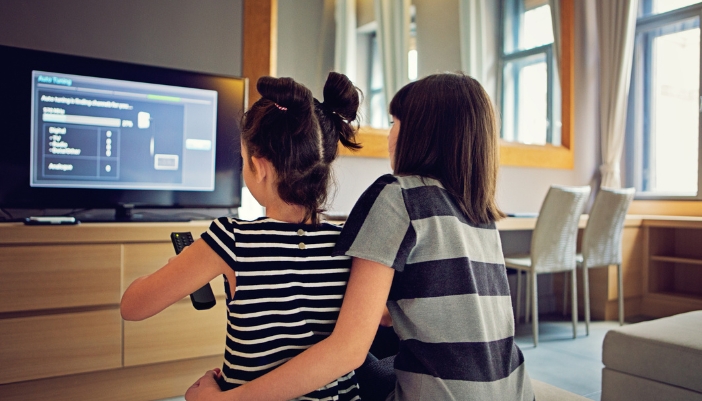
Now that your environment is set up, it’s time to get into the nitty-gritty of TV calibration. Before adjusting individual settings, it’s a good idea to lay the groundwork by resetting your TV to its default settings. Then, start by choosing the proper picture mode.
Most TVs have preset picture modes like Cinema, Standard, Vivid, and Game, each designed for different content and lighting environments. For calibration, start with Cinema or Movie mode, as these modes tend to be the most accurate and least exaggerated in color and contrast. From here, you can make more precise adjustments to get the picture just right!
3. Adjusting Brightness and Contrast
With your TV set to the right picture mode, it’s time to fine-tune the brightness and contrast. These two settings are crucial for achieving a balanced and visually pleasing picture, ensuring that dark and bright scenes look their best.
- Brightness: Controls how dark the darkest parts of the image appear.
- To adjust it correctly, find a scene with light and dark areas (like a night scene with streetlights, and increase the brightness until the dark areas lose detail.
- Then, slowly lower it until those details reappear without dimming the scene.
- The goal is to see shadow details without making the image look washed out.
- Contrast: Affects how bright the brightest parts of the image are.
- To get this right, use a scene with bright highlights (like a sunny day or bright lights) and increase the contrast until the bright areas lose detail and become blindingly white.
- Then, reduce it until you can clearly see the details in those bright areas.
- The ideal setting will make whites look bright and clear without washing out the details.
4. Fine-Tuning Color Settings
Now that brightness and contrast are dialed in, it’s time to focus on color. Proper color calibration ensures that the images on your screen look natural and vibrant, making skin tones lifelike and scenes rich with detail.
- Color Temperature: Most TVs have options like Warm, Neutral, or Cool, but for the most natural look, set the color temperature to Warm or Neutral to provide an accurate skin tone and a more realistic image.
- Color and Tint: The color setting controls the intensity of all colors, while tint adjusts the balance between green and magenta.
- To get these settings right, use a scene with people in it.
- Adjust the color until skin tones look natural — not too red or too pale.
- Then, tweak the tint to make sure there’s no green or magenta cast on the skin. The goal is a balanced, natural look where colors pop without being oversaturated.
5. Sharpening
After that, the next step is to adjust the sharpness settings to improve the clarity of your picture. The sharpness controls the clarity of edges in the picture, but be careful — too much can make the image look unnatural and add a “halo” effect around objects. So, to adjust, first start at zero and slowly increase until the picture looks crisp without introducing any artificial edges or noise.
Pro Tip:
Many TVs have special enhancements like “Super Resolution” or “Noise Reduction,” which can improve clarity but also introduce unwanted artifacts or make things look unnatural. Having these settings low or turned off is best, especially if the image is already clear enough!
Final: Testing & Adjusting
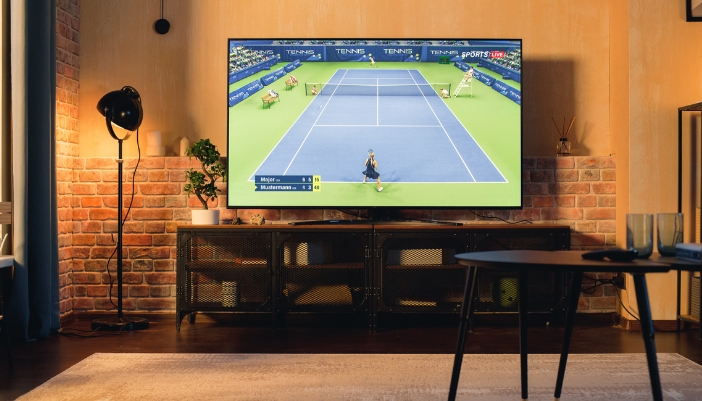
Now that you’ve fine-tuned your TV settings, it’s time to see how they interact with different types of content. The goal is to ensure that your adjustments work well across the board — whether watching movies, sports, or playing video games!
- Watch Various Types of Content: Start by watching various content and pay attention to whether the picture looks natural and clear in each case.
- Make Minor Adjustments: As you test, you might notice that some content looks better than others. Don’t hesitate to tweak settings like brightness, contrast, or color. For instance, you might want slightly higher brightness for watching sports during the day or a bit more contrast for a nighttime movie. The key is to find a balance that works well for most of what you watch.
- Consider Multiple Picture Modes: Some TVs allow you to save separate picture modes for different types of content. If your TV has this feature, you can create custom settings for movies, sports, and gaming to adjust your setup quickly without the time-consuming calibration process!
Once you’ve tested and adjusted your settings, you’ll be all set to enjoy your favorite content with the best picture quality your TV can offer. However, if your current TV just isn’t cutting it, or if you’re considering upgrading to the latest models with even more advanced features, Zeglin's Home TV & Appliance has you covered.
And if you need advice on calibration or which TV is best, stop by or call our team!